It has swiftly grown in popularity due to its comprehensive collection of in-app video editing tools and its seamless integration with the TikTok platform. CapCut is the official video editor for the viral video platform TikTok, quickly becoming one of the most popular video editors available. When altered films and video project templates are saved using CapCut, watermarks are added to them. This is a fundamental problem that is shared by other recent free video editing software.
Because of this, some individuals may experience a great deal of anger. Without using any additional software, this guide will walk you through the process of removing the CapCut watermark from your images. You may learn how to remove a watermark in one of the videos below. This applies whether the watermark is on a CapCut template or after the movie. The watermarks generated by CapCut may either serve as the final watermarks for a file or serve as a basis for the generation of additional watermarks. Keep reading to learn how to remove the watermark successfully.
How to Delete the CapCut Video Watermark?
Step 1: Start by Launching the CapCut Project
Load the editing project containing the watermarks you want to remove into the CapCut app on your mobile device, and then tap the Remove CapCut Watermarks button.
Step 2: As a Second Step, Slide the Clip to the Right
The CapCut-symboled, split-ending clip has been added to your project automatically. To watch the clip, move the timeline’s slider to the right.
Step 3: Get Rid of the Final Watermarked Video
Choose the Ending clip in the timeline, and then delete it using the delete button in the panel below the timeline. This will remove the CapCut watermark after the video.
A Step-by-Step Guide to Editing the CapCut Template
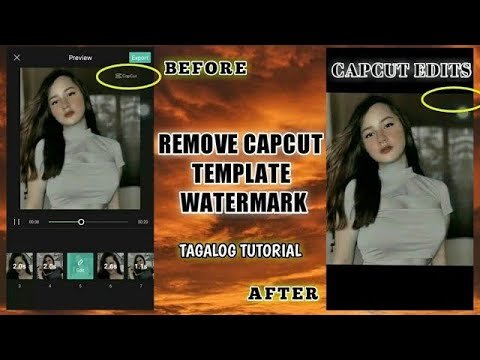
Step 1: Get a Template Ready in CapCut
Using the CapCut program, you may quickly eliminate the watermarks on the video template. To load a project template made in the past for use in video editing, you may use the Template button, which is placed in the lower-right corner of the software. This button can be used instead of the New Project button. You can select the format you want to use from among the available templates.
Step 2: After the Sample Document
After you have made your decision, use the option labeled “Use the template” to enter the video editor. Once inside, make any required adjustments to the template before proceeding to add your footage to the album.
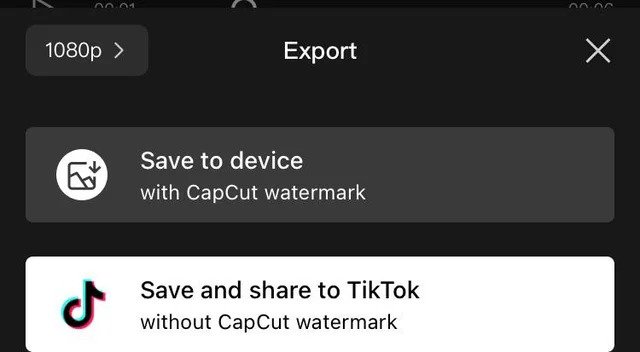
Step 3: Ready to be Exported
After making any necessary adjustments to the template, you can export it by selecting the Export option in the window’s upper right corner. A watermark is included in the CapCut video template; however, it is possible to remove it by choosing “Export without watermark” from the drop-down option.
FAQ
Q. How can I get rid of a watermark in CapCut?
To get rid of watermarks with CapCut, you may trim them off the end of the edited movie or erase them from the video template.
Q. Is there a fee to remove watermarks with CapCut?
CapCut is a free program that may be used to edit movies; however, both the templates and the outputs include watermarks. This post will not instruct you on how to get rid of the CapCut watermark for free, but it will tell you the specific steps that were carried out to generate the watermark in the first place. There is a small fee required.
Conclusion
CapCut is now one of the most popular video editing app. We understand that the watermark in the videos can be a little bothersome. Hence, we provided the solutions in this article. You may have to pay a small fee in order to remove it. It is an easy procedure, you will most likely get a hang of it in no time. We hope this article has helped you in achieving the desired wish.